

3D Pet Generator
A photo of your pet. A model to make your own.
Use N4D Image to 3D to turn a dog or cat photo into a static 3D model. Upload a JPG, JPEG, PNG or WebP up to 20 MB, generate and inspect the mesh, then download a file for a figurine project or a digital scene.
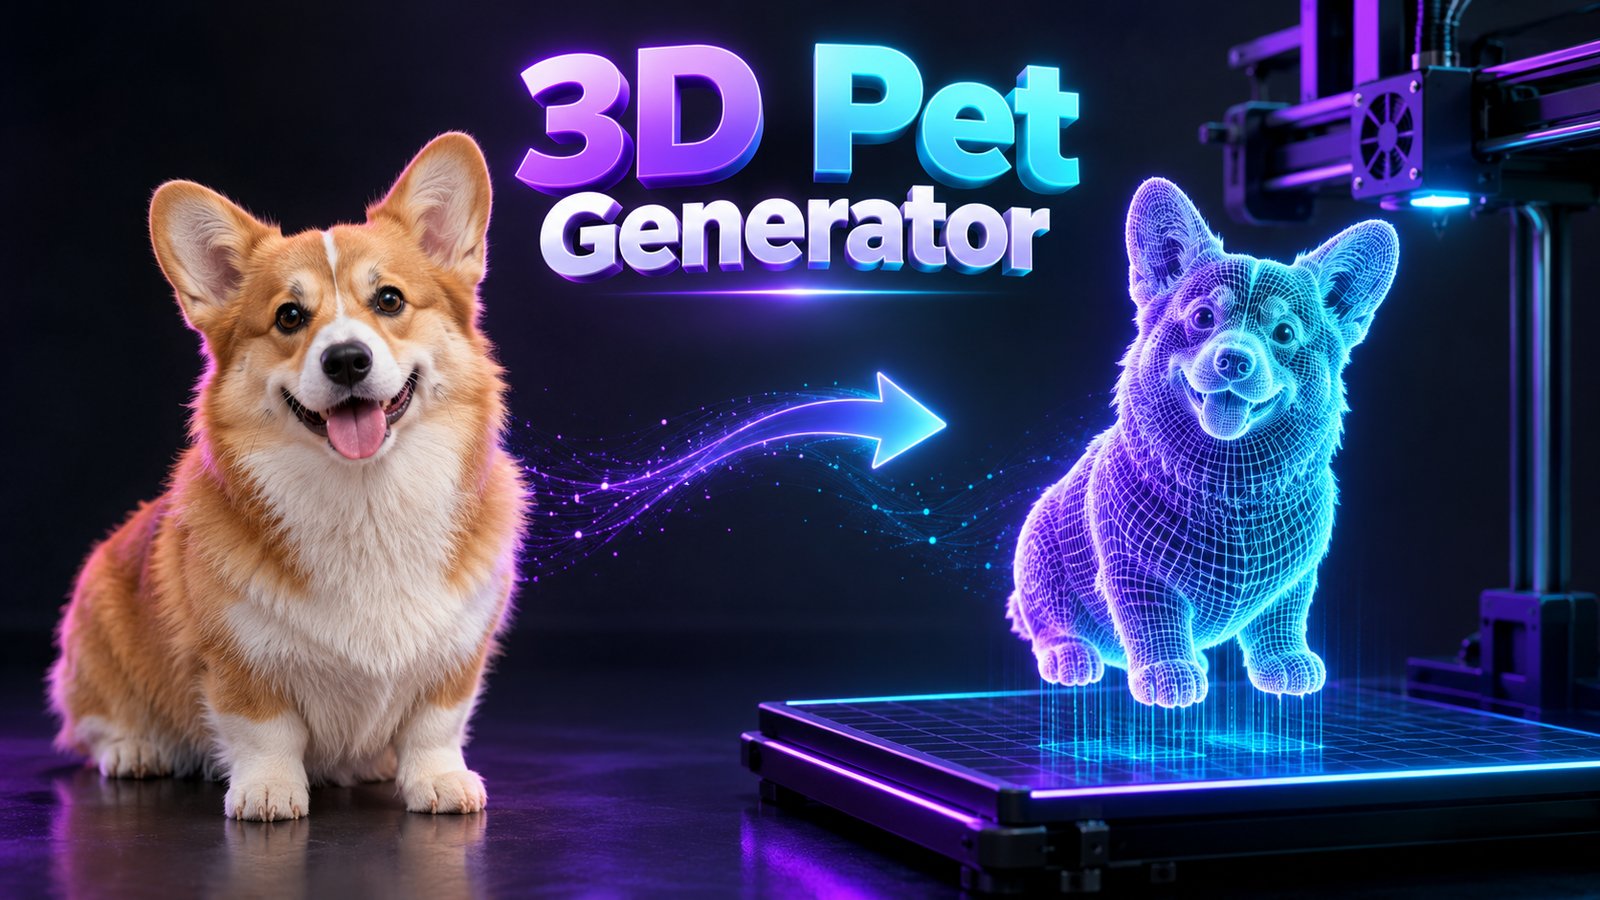
From a pet photo to a file you can work with
This pet-focused workflow runs in the existing Image to 3D tool, with a reference photo as its starting point.
One pet photo
Start with one clear reference image. The AI infers a 3D shape, including surfaces that the photo does not show.
3D geometry
Generate a mesh you can inspect from all sides. The Triangle setting produces a dense triangular mesh for further review and editing.
Six file formats
Download OBJ, FBX, GLB, USDZ, STL or BLEND. Choose the format for your next tool, then check the exported asset there.
Pet photo in, static 3D model out
Use these input and output boundaries to plan your pet project.
| Item | What to expect |
|---|---|
| Reference | One pet photo. JPG, JPEG, PNG or WebP, up to 20 MB. Click, drag or paste to upload. |
| Result | A generated static 3D mesh. Texture is an optional generation setting. |
| Mesh for this workflow | Triangle generates a high-density triangular mesh. Inspect the silhouette and thin parts before further use. |
| Download | OBJ, FBX, GLB, USDZ, STL or BLEND. |
| Pet likeness | Unseen surfaces are inferred. Exact proportions, coat markings and fine fur are not guaranteed. |
| Print preparation | Check the exported model in your slicer. Repair, scaling, a base and supports may be needed. |
Create your pet model in N4D Image to 3D. Use a clear photo of one whole animal, then inspect the inferred details from every side before downloading. The Image to 3D guide explains the upload controls, generation settings and six export formats.
Give the model a clear view of your pet
Photo preparation and a close inspection of the result are part of the process.
| Check | Prepare the photo | Inspect the model |
|---|---|---|
| One animal | Keep one pet fully in frame, without hands or another animal. | Look for merged objects or unwanted extra geometry. |
| Readable outline | Keep ears, legs and tail visible against a plain background. | Check that paws are separate and the tail joins the body correctly. |
| Face and body | Try a three-quarter view that shows the muzzle and body shape. | Compare ear placement, muzzle length and body proportions. |
| Light and markings | Use even lighting without strong shadows or filters. | If Texture is selected, check markings and texture alignment. |
Make a keepsake or build a digital scene
Start with the generated model, then prepare it for the project you have in mind.

Pet figurines and keepsakes
Use the mesh as a starting point for a desk figurine. Check fragile ears, paws and tails, and add a base in your editor if the model needs support.
A pet in your digital scene
Download a static model for a scene or rendered portrait. Check mesh size and materials in your 3D software before building the scene around it.
How to turn your pet photo into a 3D model
Upload, inspect, then prepare the downloaded file for your project.
1. Upload one pet photo
Open Image to 3D and click, drag or paste a JPG, JPEG, PNG or WebP file up to 20 MB. Use one whole animal against a plain background. Avoid hands holding the pet and objects that obscure its outline.
2. Generate, then inspect every side
Choose your mesh and optional Texture settings, then generate. Rotate and zoom around the result. Check the muzzle, ear shapes, paws, tail and inferred rear view. Leave humanoid pose settings at Auto for this pet workflow. If likeness is off, adjust the reference and submit a new generation.
3. Download and prepare for your project
Choose STL for a slicing workflow, or OBJ, FBX, GLB, USDZ or BLEND for digital work. For a figurine, check size, mesh integrity and delicate features before adding supports in your slicer. Add a base or hanging loop in your 3D editor if your project needs one.
For a tour of the current controls, follow the Image to 3D guide.
Questions about making a 3D pet
Use N4D Image to 3D to generate a model from one pet photo. Upload the image, choose your generation settings, inspect the result and download a 3D file. This pet workflow uses the existing Image to 3D tool.
Start with one dog or cat fully visible in a sharp, evenly lit photo. Keep the ears, paws and tail in frame, and use a plain background. A three-quarter angle can show both the face and body. JPG, JPEG, PNG and WebP are supported, up to 20 MB, with click, drag or paste upload.
Likeness varies with the reference image and generation. Hidden sides are inferred, so markings, proportions and fine fur can differ. Rotate the model to check the face, paws and tail before downloading. Use a different reference or generate another version if needed.
Export STL and check it in your slicer. Confirm scale, closed surfaces, thin parts, stability and supports before printing. A generated model may need repair or editing. Check the sliced preview before starting a print.
Image to 3D supports OBJ, FBX, GLB, USDZ, STL and BLEND downloads. Choose STL to begin a slicing workflow or GLB for a digital scene. Texture is optional during generation. Check the completed asset and available download options for your intended use.
This workflow produces a static 3D model. Pet rigging and animal motion are not demonstrated here. Plan any pet animation as a separate workflow in your chosen 3D software.
Generate one pet per reference image. Batch Image to 3D accepts up to 10 images per run and produces a separate model for each image. Several views of one pet are different from a batch of separate pet references.