
The Image to 3D tool in Neural4D converts 2D reference photos or concept art into solid, manifold 3D meshes without the need for manual retopology. Follow these precise steps to generate your asset for independent product visualization, furniture prototyping, or personal 3D printing.
Directly go to the Image to 3D studio. Or, you can navigate to the Products section from the top navigation bar to enter the 3D Studio. In the left sidebar toolbar, click on the Image to 3D option.
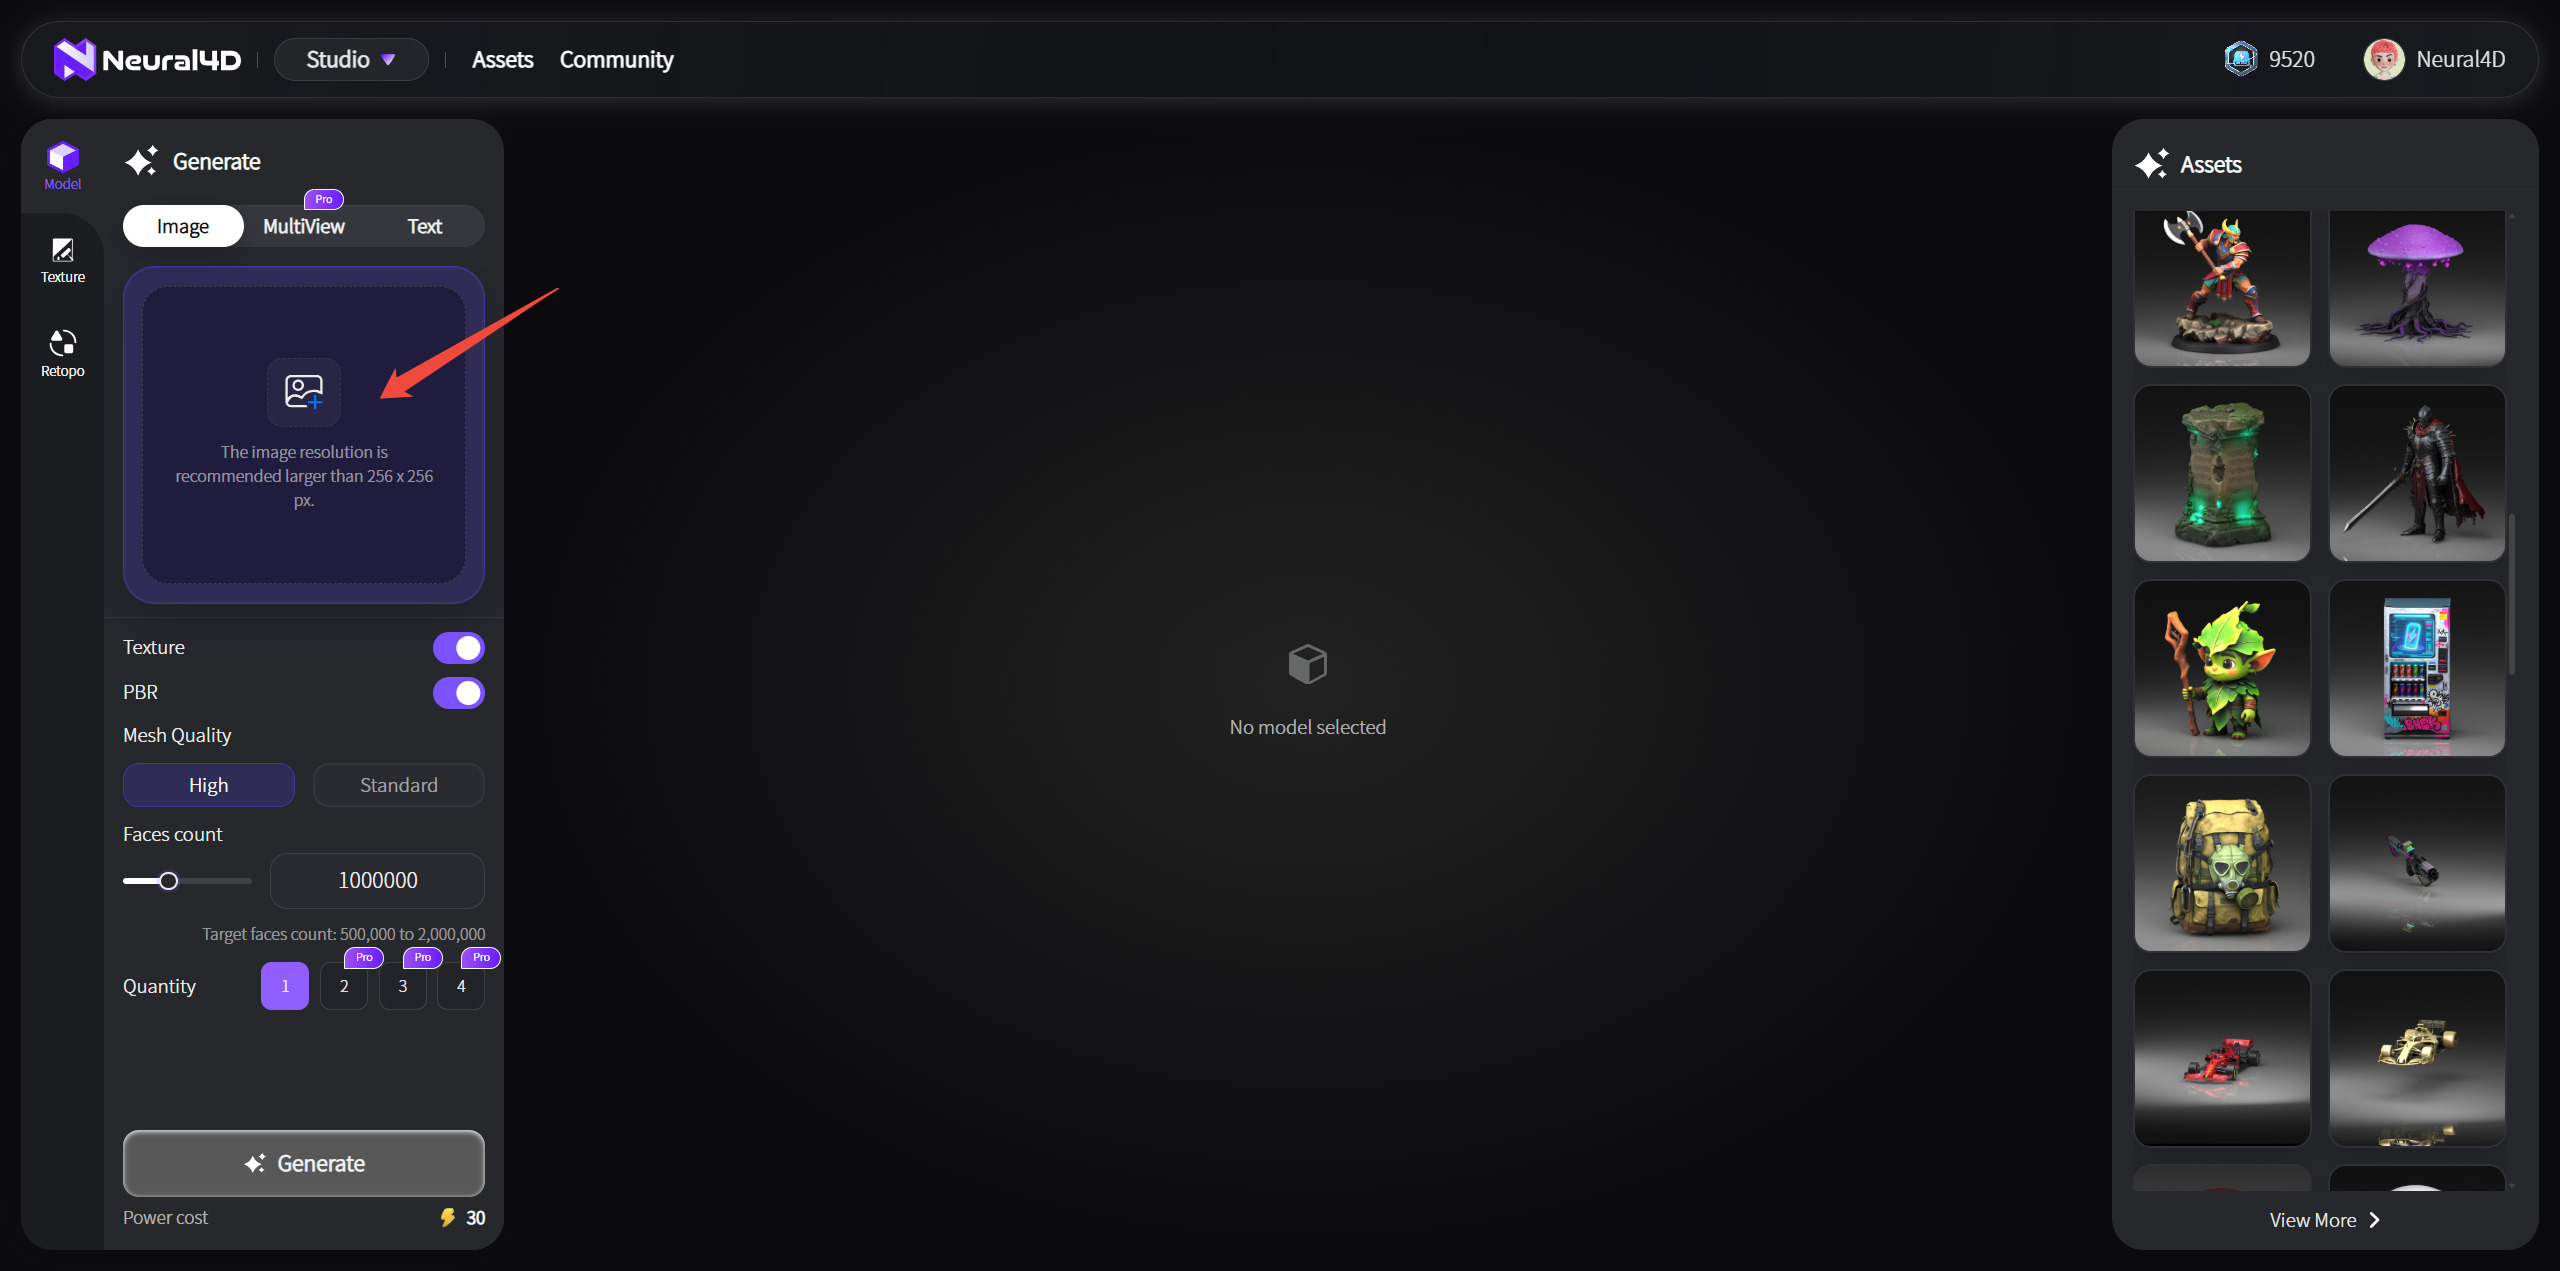
Click the upload area to select your 2D image (.JPG, .JPEG, or .PNG). The quality of your input directly determines the accuracy of the generated mesh. For optimal topology extraction, ensure your image meets the following standard criteria:
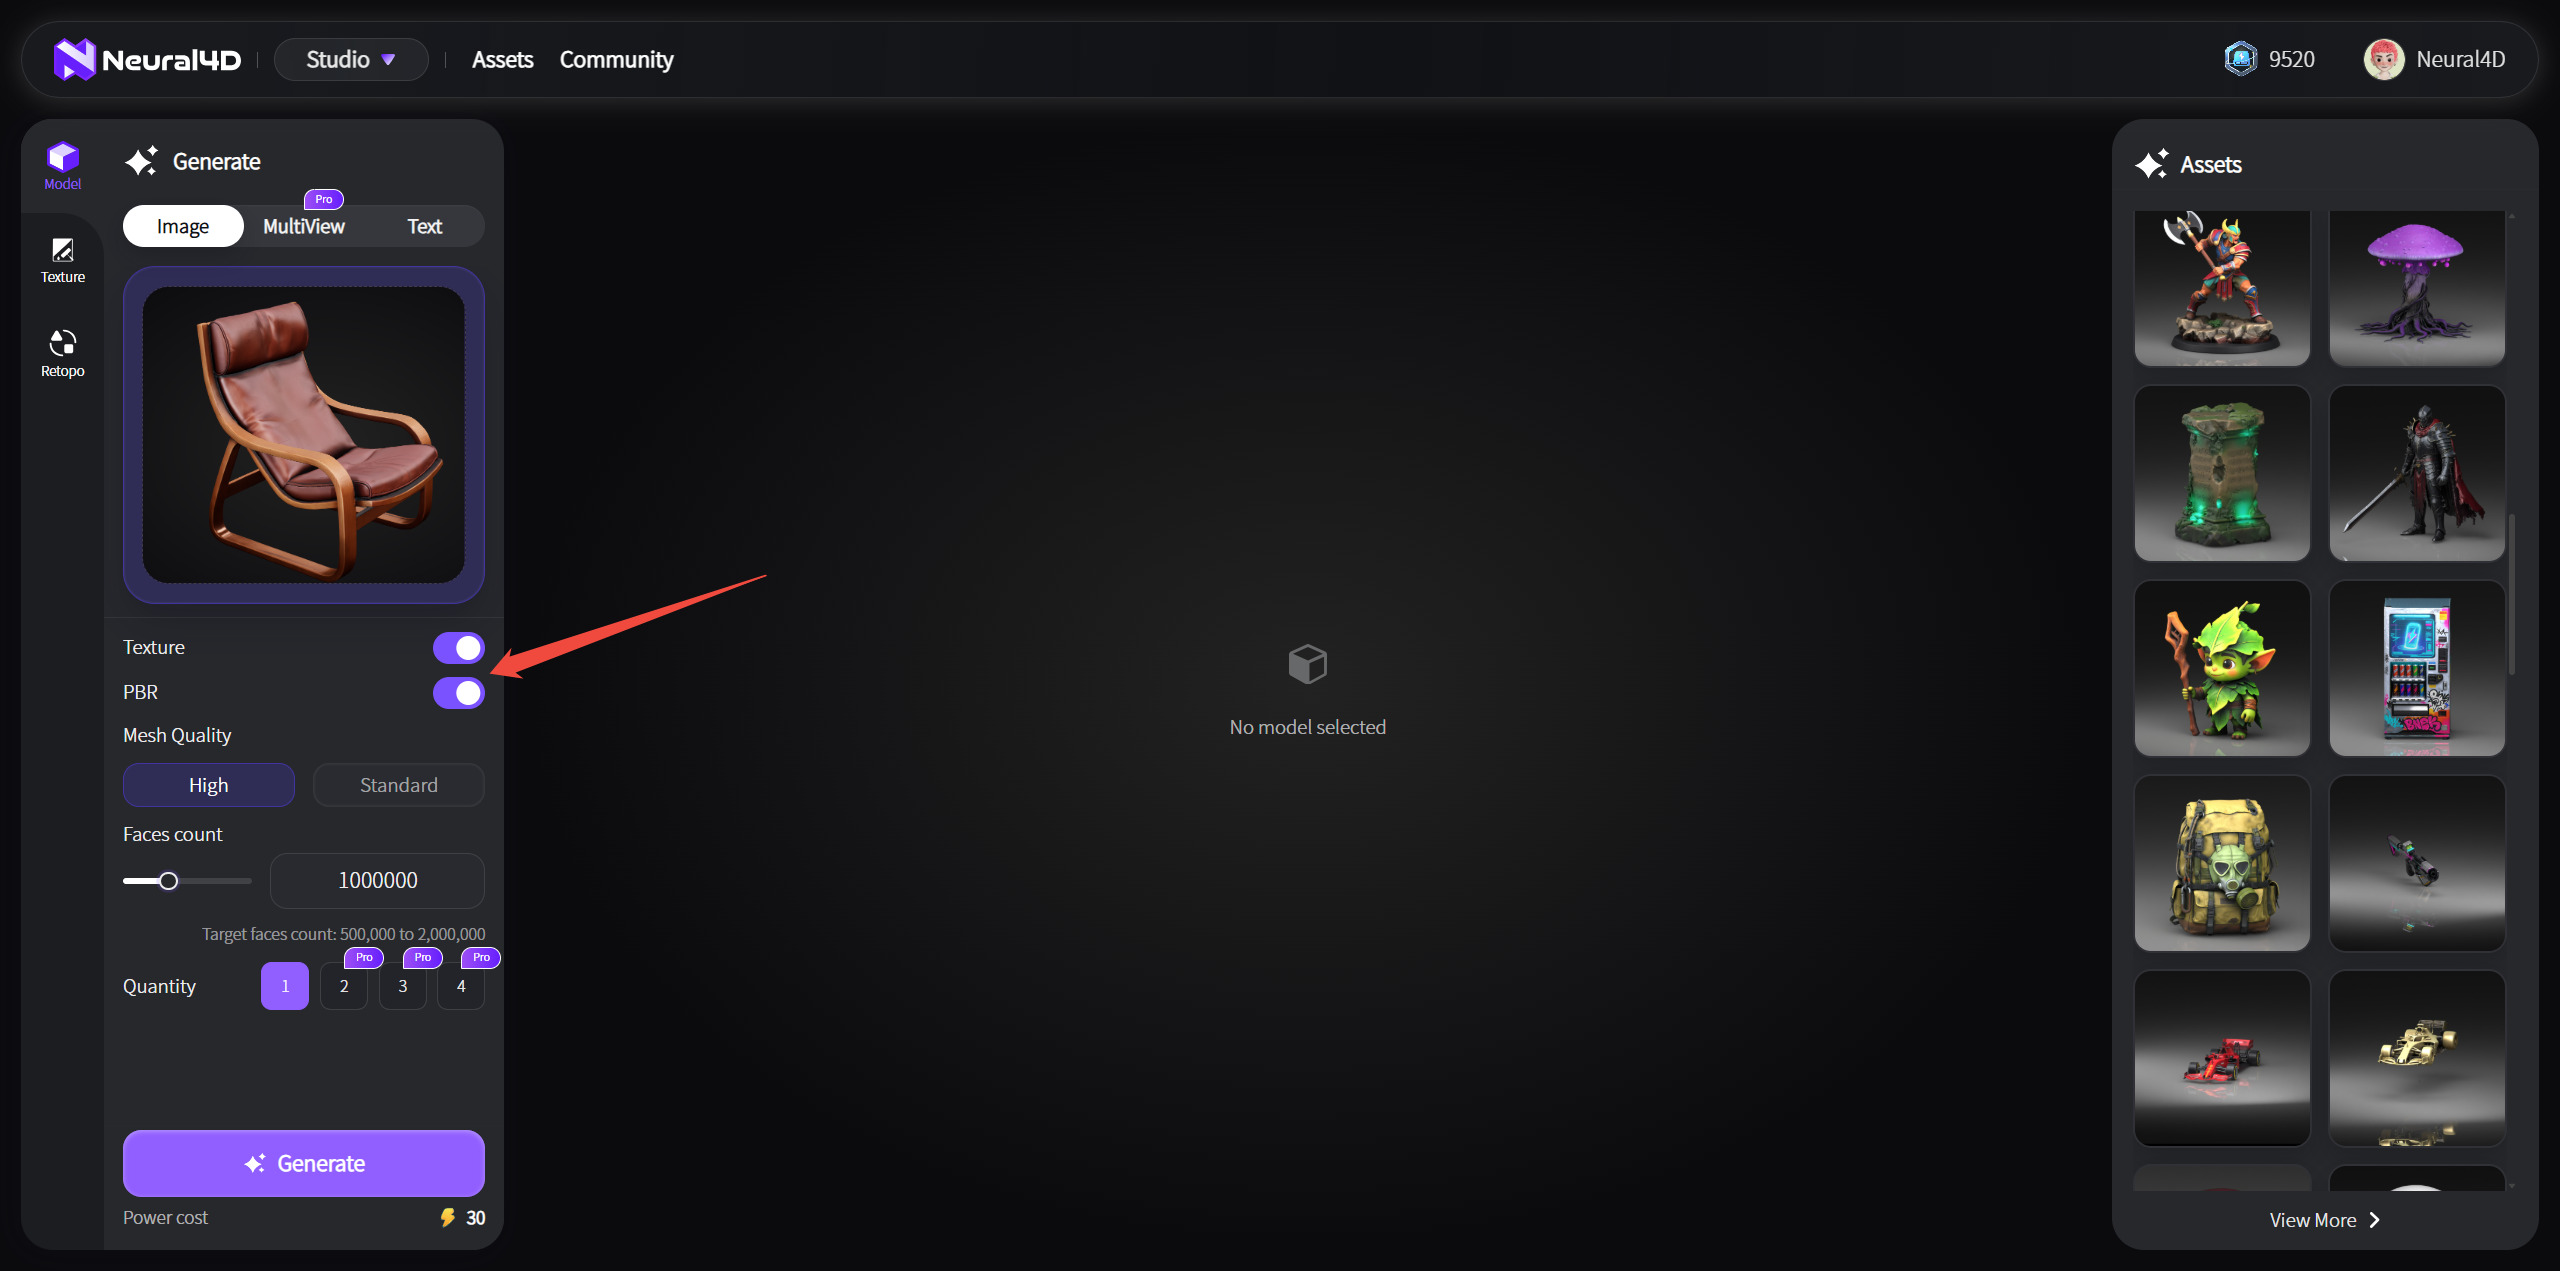
Before initiating the generation, select whether the system should generate textures.
Please note: Generating an untextured base mesh takes approximately 90 seconds. If you enable standard textures or a full set of PBR (Physically Based Rendering) maps, the processing will require additional computation time.
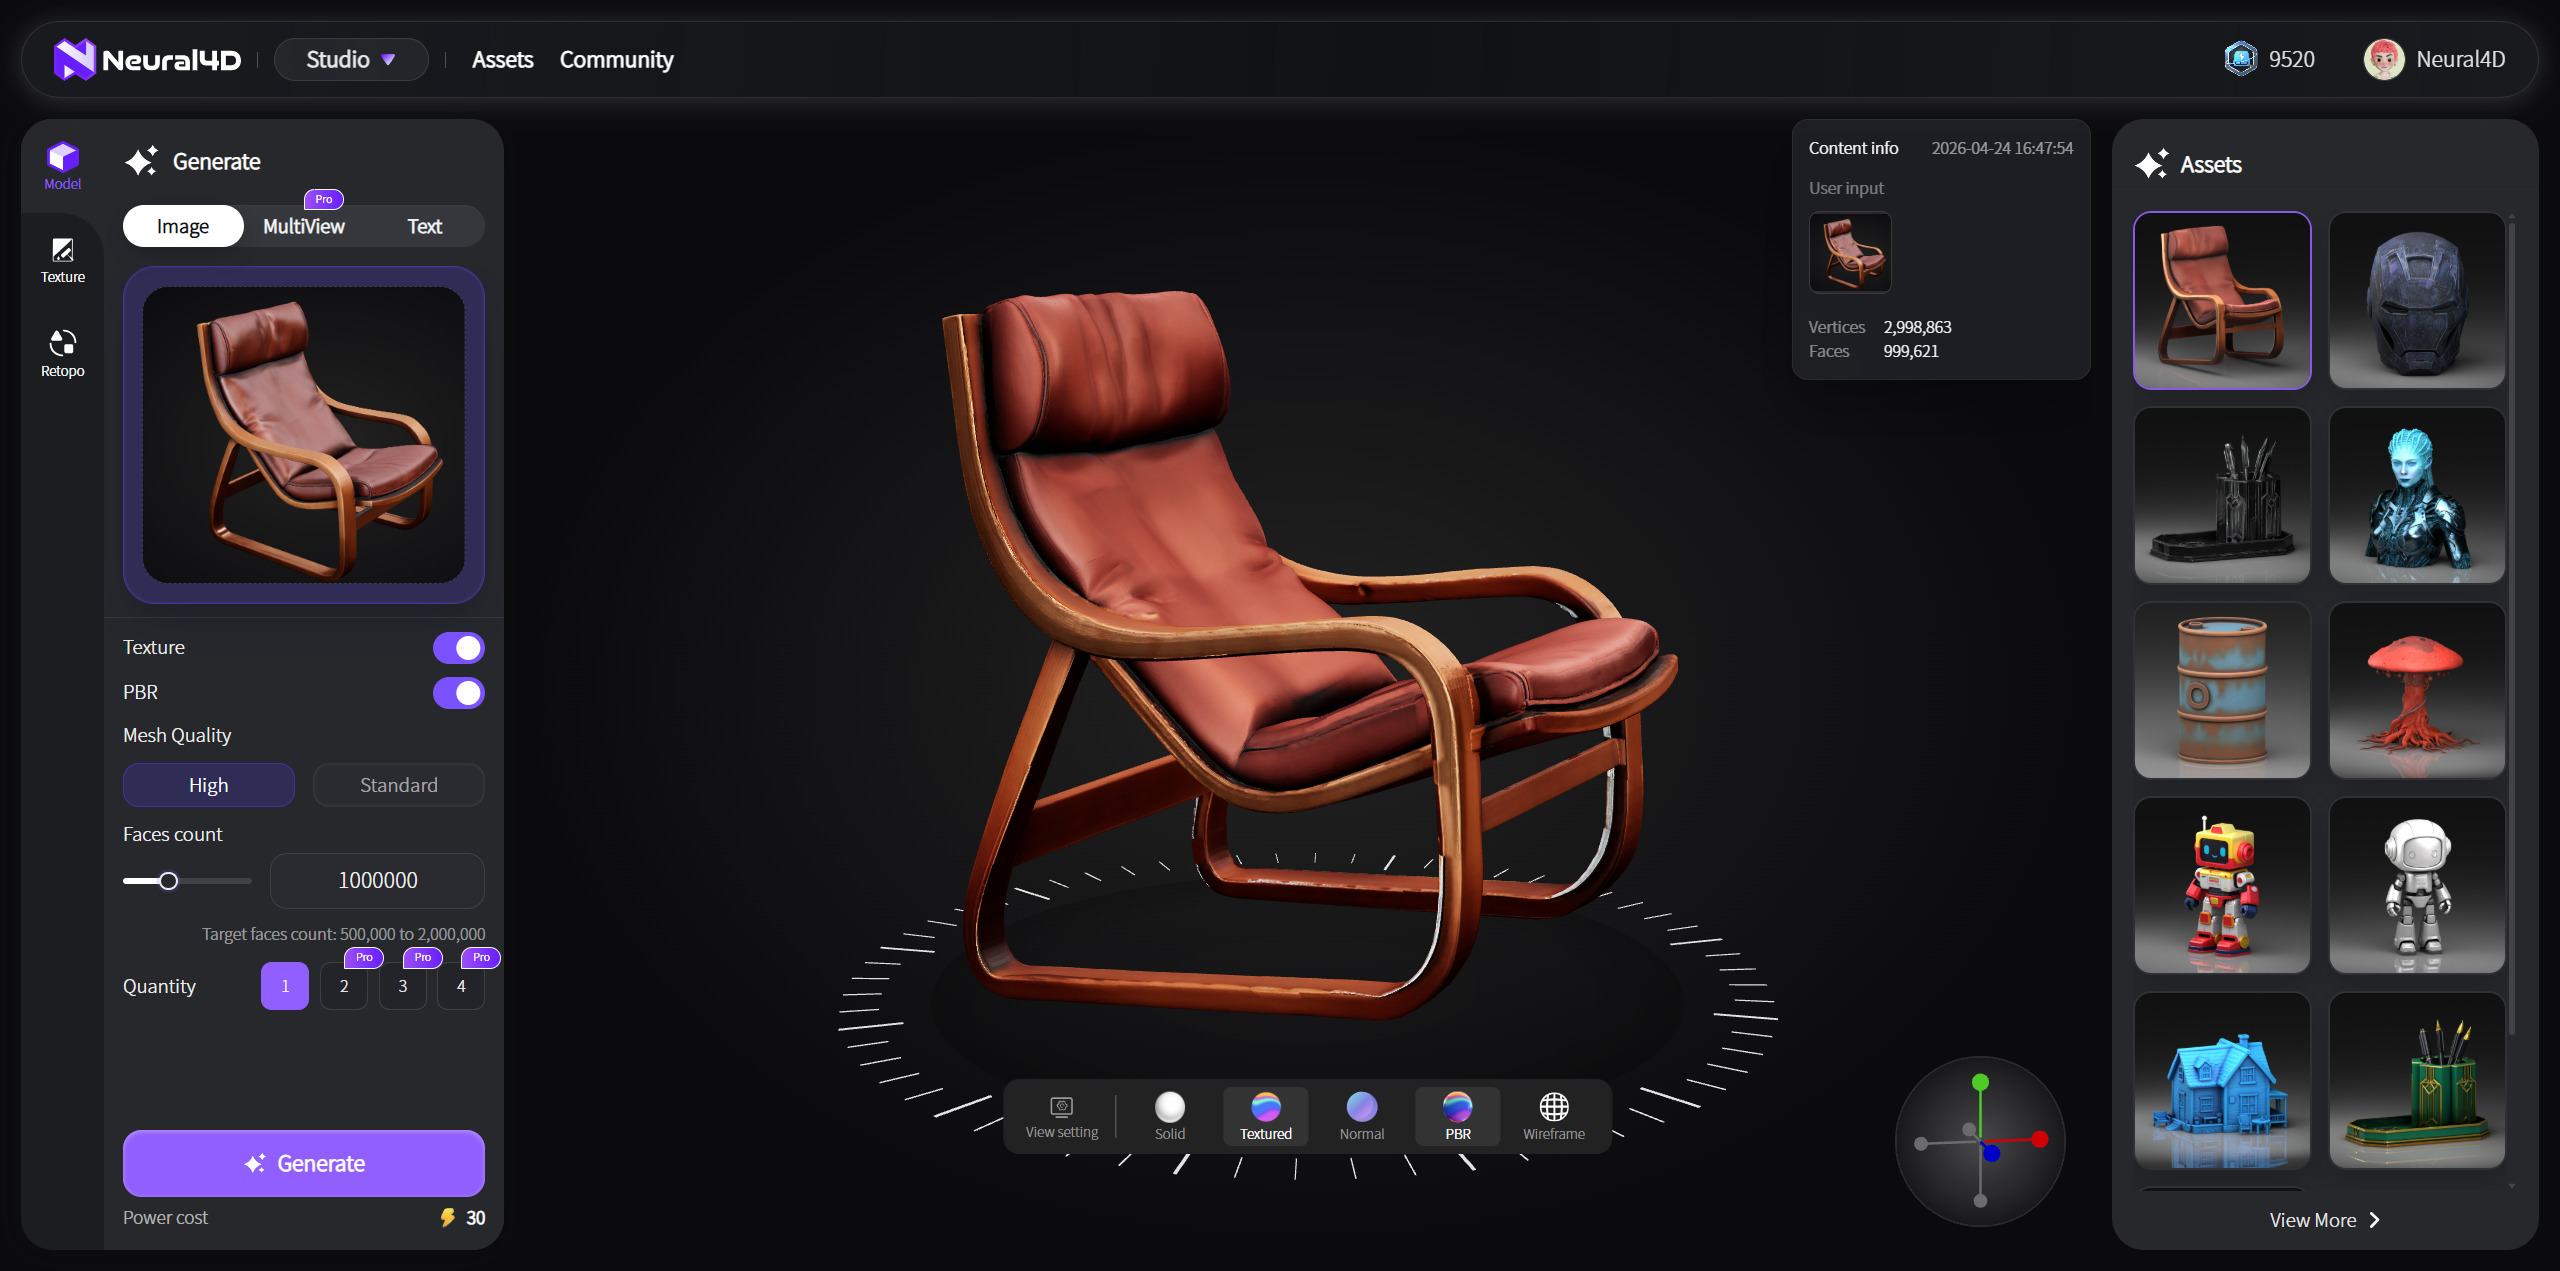
Click the Generate button. The engine will process the depth and spatial data to construct the geometry. Once completed, the fully realized 3D model will appear in the main workspace on the right side of your screen. You can use your mouse to pan, zoom, and rotate to inspect the mesh structure and texture alignment in real-time.
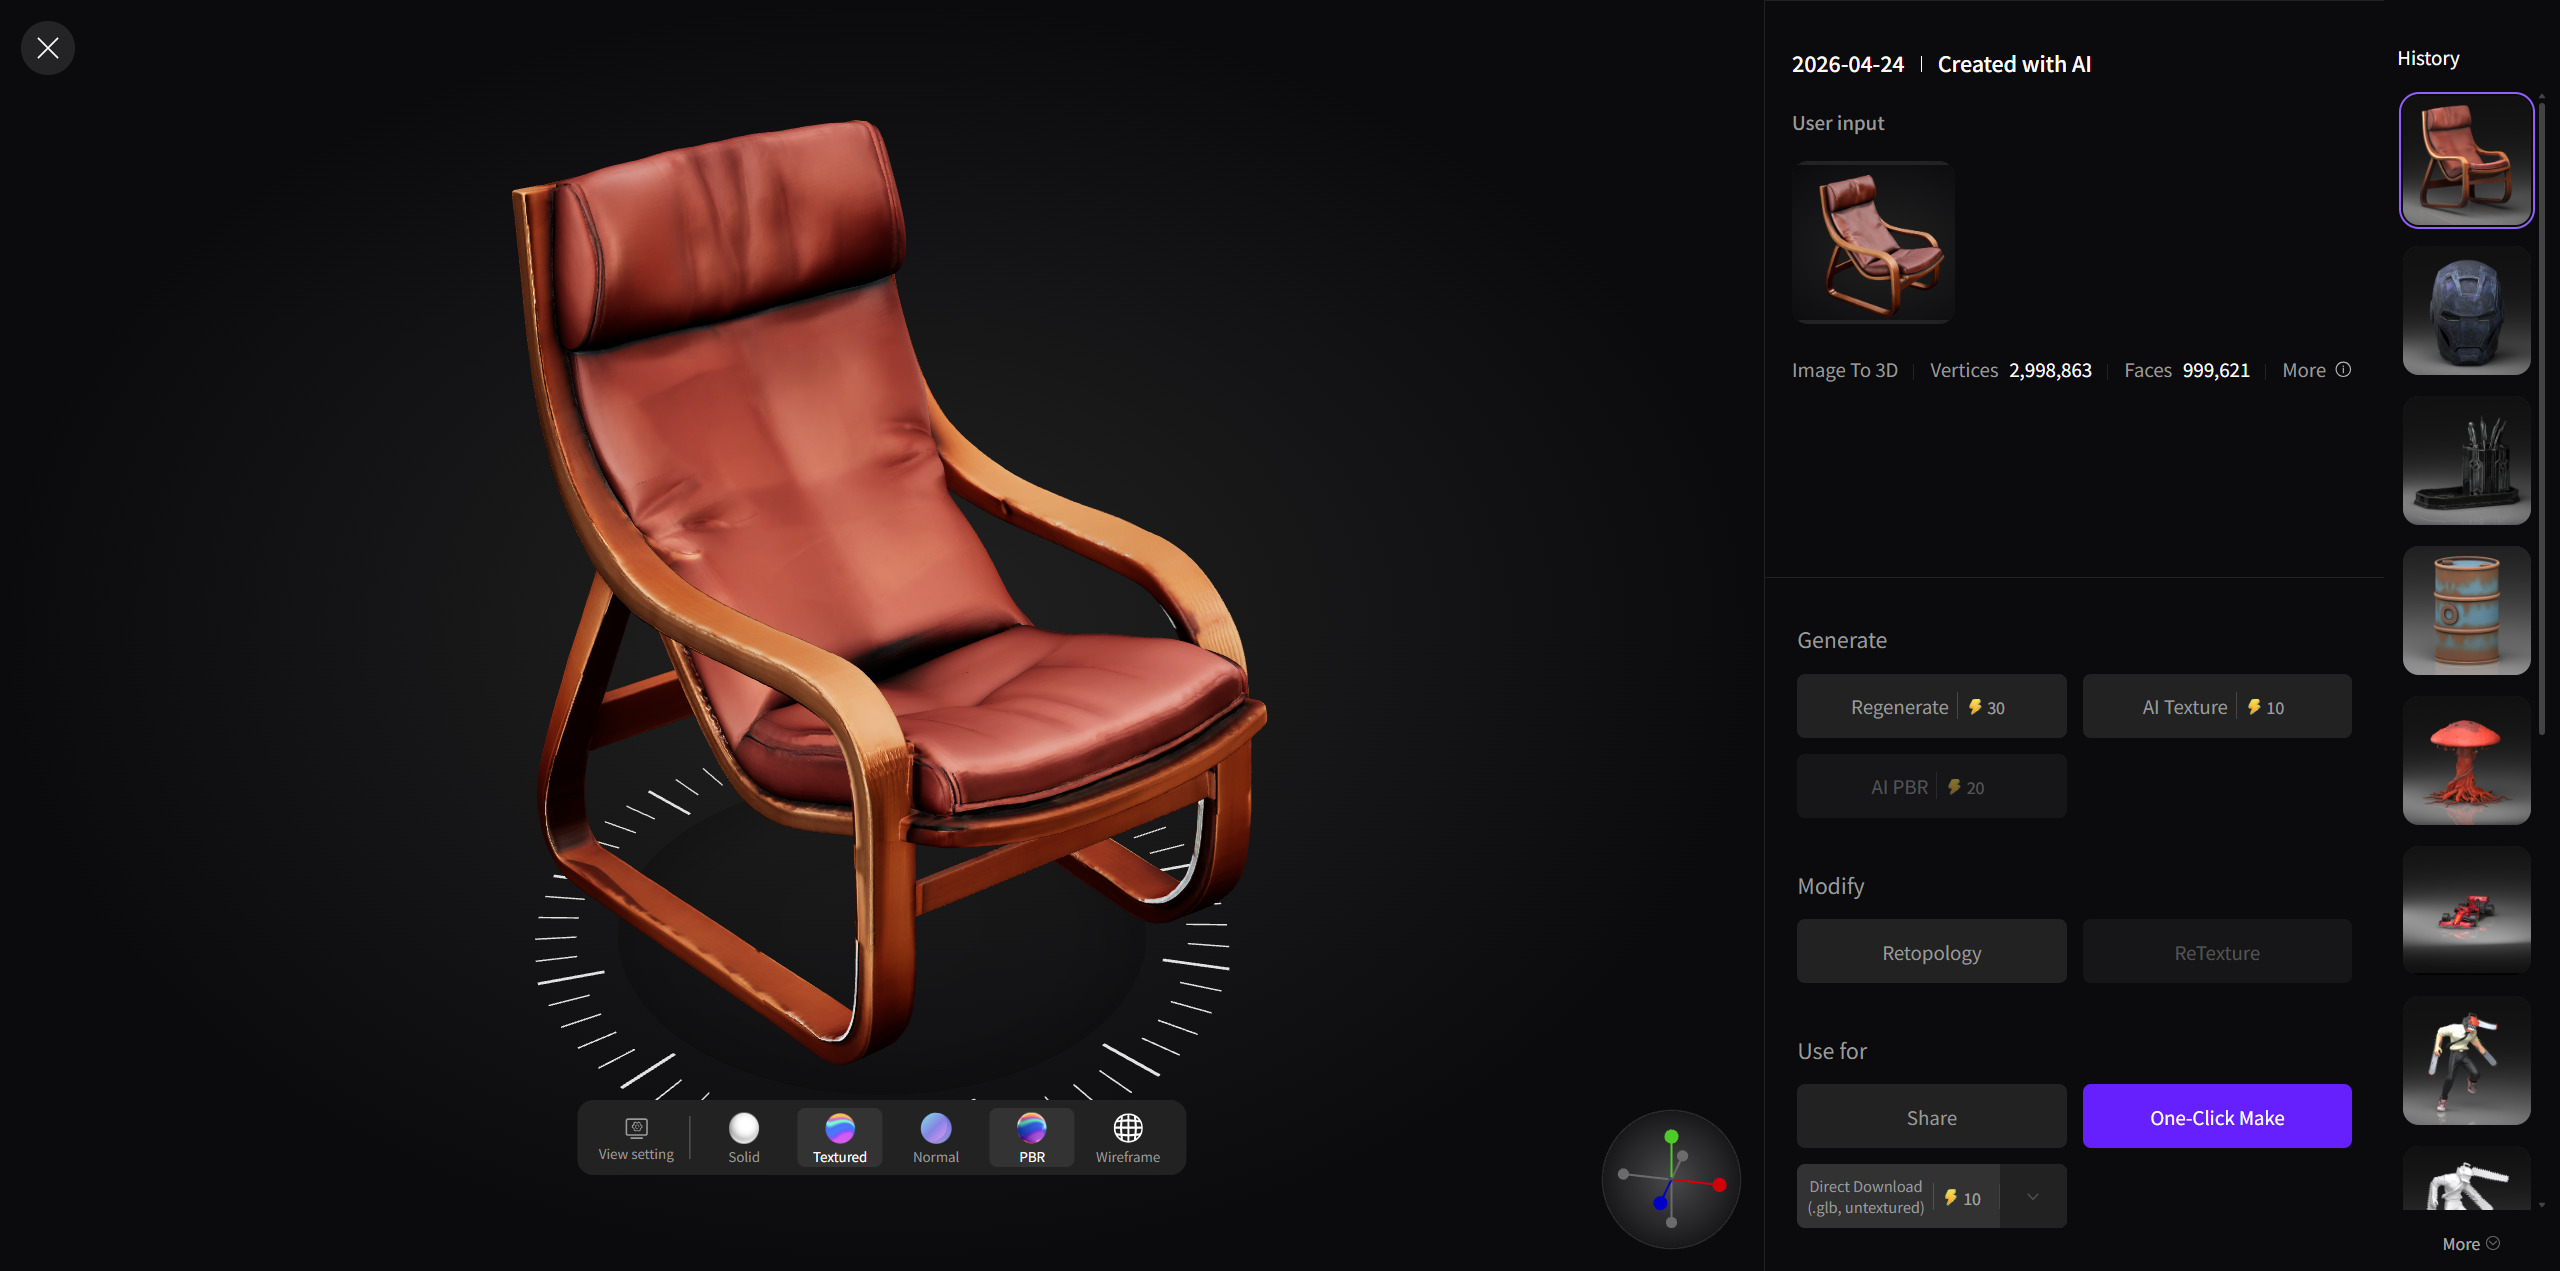
Review your generated asset and choose the next steps based on your workflow:
| Action | Description & Next Steps |
|---|---|
| Refine Model | If the initial geometry or texture requires adjustment, select N4D-2o (Interactive 3D Generation) from the left sidebar. You can use conversational commands to iteratively modify specific details of this model without starting over. |
| Export Asset | If the model meets your production requirements, click the Download icon. You can download the asset in your preferred pipeline format (.obj, .fbx, .glb, .usdz, .stl, or .blend). |
| Physical 3D Printing | If you require a physical prototype for independent product design or furniture prototyping, click the One-Click Make button located in the bottom right corner of your generated model. You can directly fill in your shipping details and complete the purchase to have the physical asset manufactured and delivered to you. |
All generated digital files are automatically saved and can be accessed anytime via the Assets tab in the left toolbar.
| Your Goal | Recommended Solution |
|---|---|
| No reference image? | Try our Text to 3D feature to generate meshes from pure descriptions. |
| Building a product catalog? | Learn how to automate this exact generation workflow at scale via the Neural4D API. |
'%3e%3cg%3e%3cpath%20d='M14.22126,2L16.980341,2L10.922359,8.365314L18,17.000000999999997L12.44585,17.000000999999997L8.0973005,11.7527676L3.1189604,17.000000999999997L0.35988006,17.000000999999997L6.7777414,10.1918821L0,2L5.6921029,2L9.6207924,6.7933583L14.22126,2ZM13.255582,15.505536L14.785071,15.505536L4.88837,3.4391145L3.2449181,3.4391145L13.255582,15.505536Z'%20fill='%23ffffff'%20fill-opacity='1'%20style='mix-blend-mode:passthrough'/%3e%3c/g%3e%3c/g%3e%3c/svg%3e)
'%3e%3cg%3e%3cg%3e%3cpath%20d='M17.776579953674315,4.238972914697266C18.530987953674316,2.8357112146972656,17.668764953674316,1.0000038146972656,17.668764953674316,1.0000038146972656C15.728984953674317,1.0000038146972656,14.327326953674316,2.2953194146972655,14.327326953674316,2.2953194146972655C13.572919953674317,1.8635447646972656,11.093512553674316,1.8635447646972656,11.093512553674316,1.8635447646972656C11.093512553674316,1.8635447646972656,8.614197253674316,1.8635447646972656,7.859790753674316,2.2953194146972655C7.859790753674316,2.2953194146972655,6.4587898536743165,1.0000038146972656,4.518257353674317,1.0000038146972656C4.518257353674317,1.0000038146972656,3.6561312536743165,2.8350313146972654,4.410538953674316,4.238972914697266C4.410538953674316,4.238972914697266,2.6862124236743163,5.858135714697266,3.332825653674316,9.312969214697265C3.9408041536743164,12.559363814697265,6.782133553674316,13.415479814697266,8.614197253674316,13.415479814697266C8.614197253674316,13.415479814697266,7.859790753674316,14.063154814697265,7.967603653674316,15.142524814697266C7.967603653674316,15.142524814697266,6.889853453674316,15.790198814697266,5.812196053674317,15.358415814697265C4.734538553674316,14.926723814697265,4.1956536536743165,13.847263814697266,4.1956536536743165,13.847263814697266C4.1956536536743165,13.847263814697266,3.1179590536743165,12.443964814697265,2.0402743556743164,12.983694814697266C2.0402743556743164,12.983694814697266,1.7169677936743164,13.307532814697266,2.9024282136743165,13.847263814697266C2.9024282136743165,13.847263814697266,3.7645722536743165,15.142524814697266,4.087878753674316,15.898144814697266C4.411195253674316,16.653767814697268,6.135446553674316,17.301444814697266,7.860446953674316,16.869661814697267L7.860446953674316,19.352327814697265C7.860446953674316,19.352327814697265,7.860446953674316,19.568219814697265,7.4293847536743165,19.676166814697265C6.998322453674317,19.784110814697264,6.998322453674317,20.000003814697266,7.213853853674316,20.000003814697266L14.974576953674317,20.000003814697266C15.190109953674316,20.000003814697266,15.190109953674316,19.784110814697264,14.759046953674316,19.676166814697265C14.327983953674316,19.568219814697265,14.327983953674316,19.352327814697265,14.327983953674316,19.352327814697265L14.327983953674316,16.869661814697267C14.327983953674316,16.869661814697267,14.337451953674316,15.575053814697265,14.327983953674316,15.142524814697266C14.304263953674317,14.057753814697266,13.573576953674316,13.415479814697266,13.573576953674316,13.415479814697266C15.405640953674316,13.415479814697266,18.246925953674317,12.559363814697265,18.854893953674317,9.312969214697265C19.501579953674316,5.858135714697266,17.777234953674316,4.238972914697266,17.776579953674315,4.238972914697266L17.776579953674315,4.238972914697266Z'%20fill='%23ffffff'%20fill-opacity='1'%20style='mix-blend-mode:passthrough'/%3e%3c/g%3e%3c/g%3e%3c/g%3e%3c/svg%3e)


