
Welcome to Neural4D. This comprehensive guide will show you how to set up your account and navigate the Studio to generate 3D models, AI images, and AI videos for product design, gaming, 3D printing, content creation, and more.
Navigate to the Neural4D Studio. Once inside, click the avatar icon in the top-right corner of the screen to open the login panel.
Choose your preferred registration method: Google, X, WeChat, or Email. Once registered, the system will automatically credit your account with a free power allowance, allowing you to start generating models immediately.
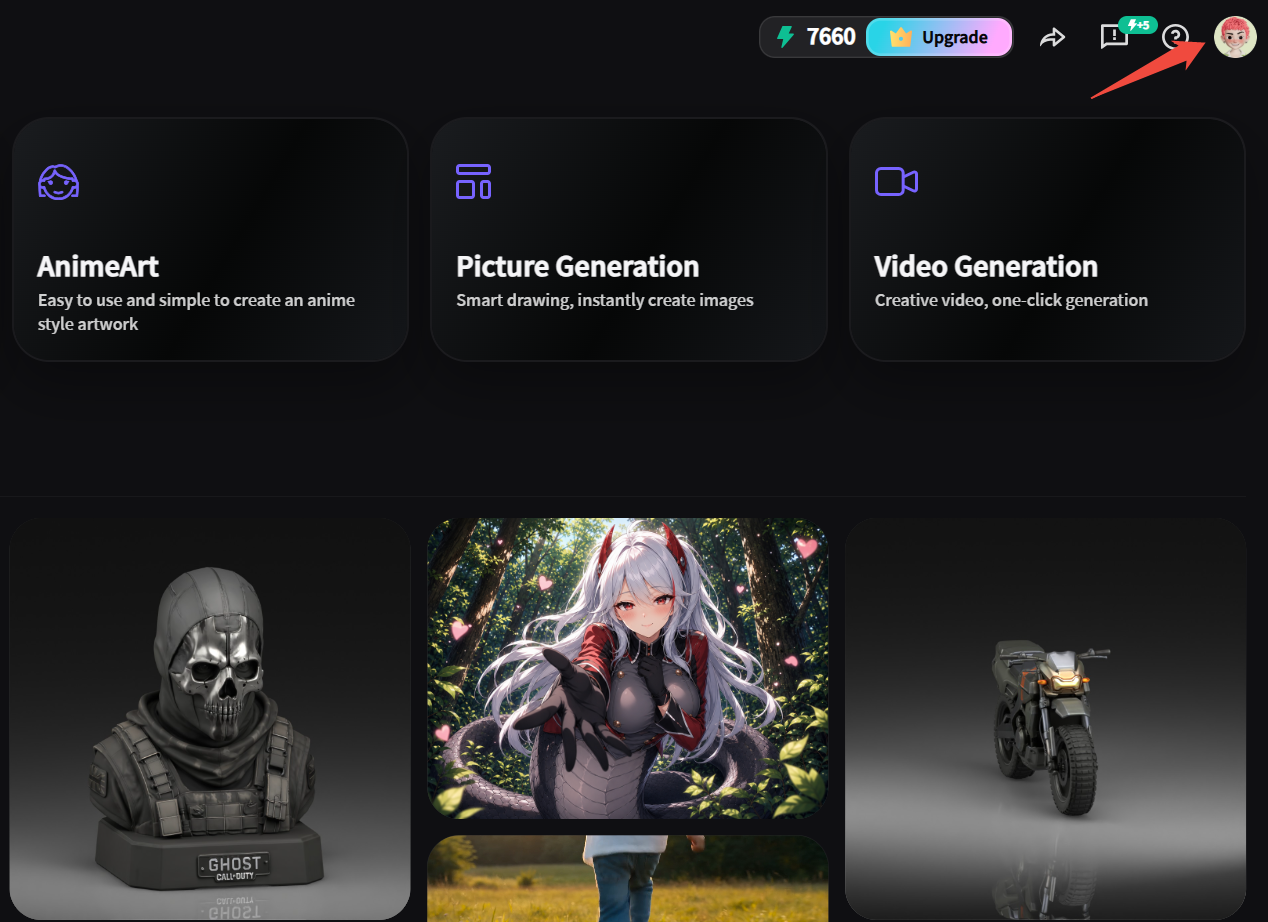
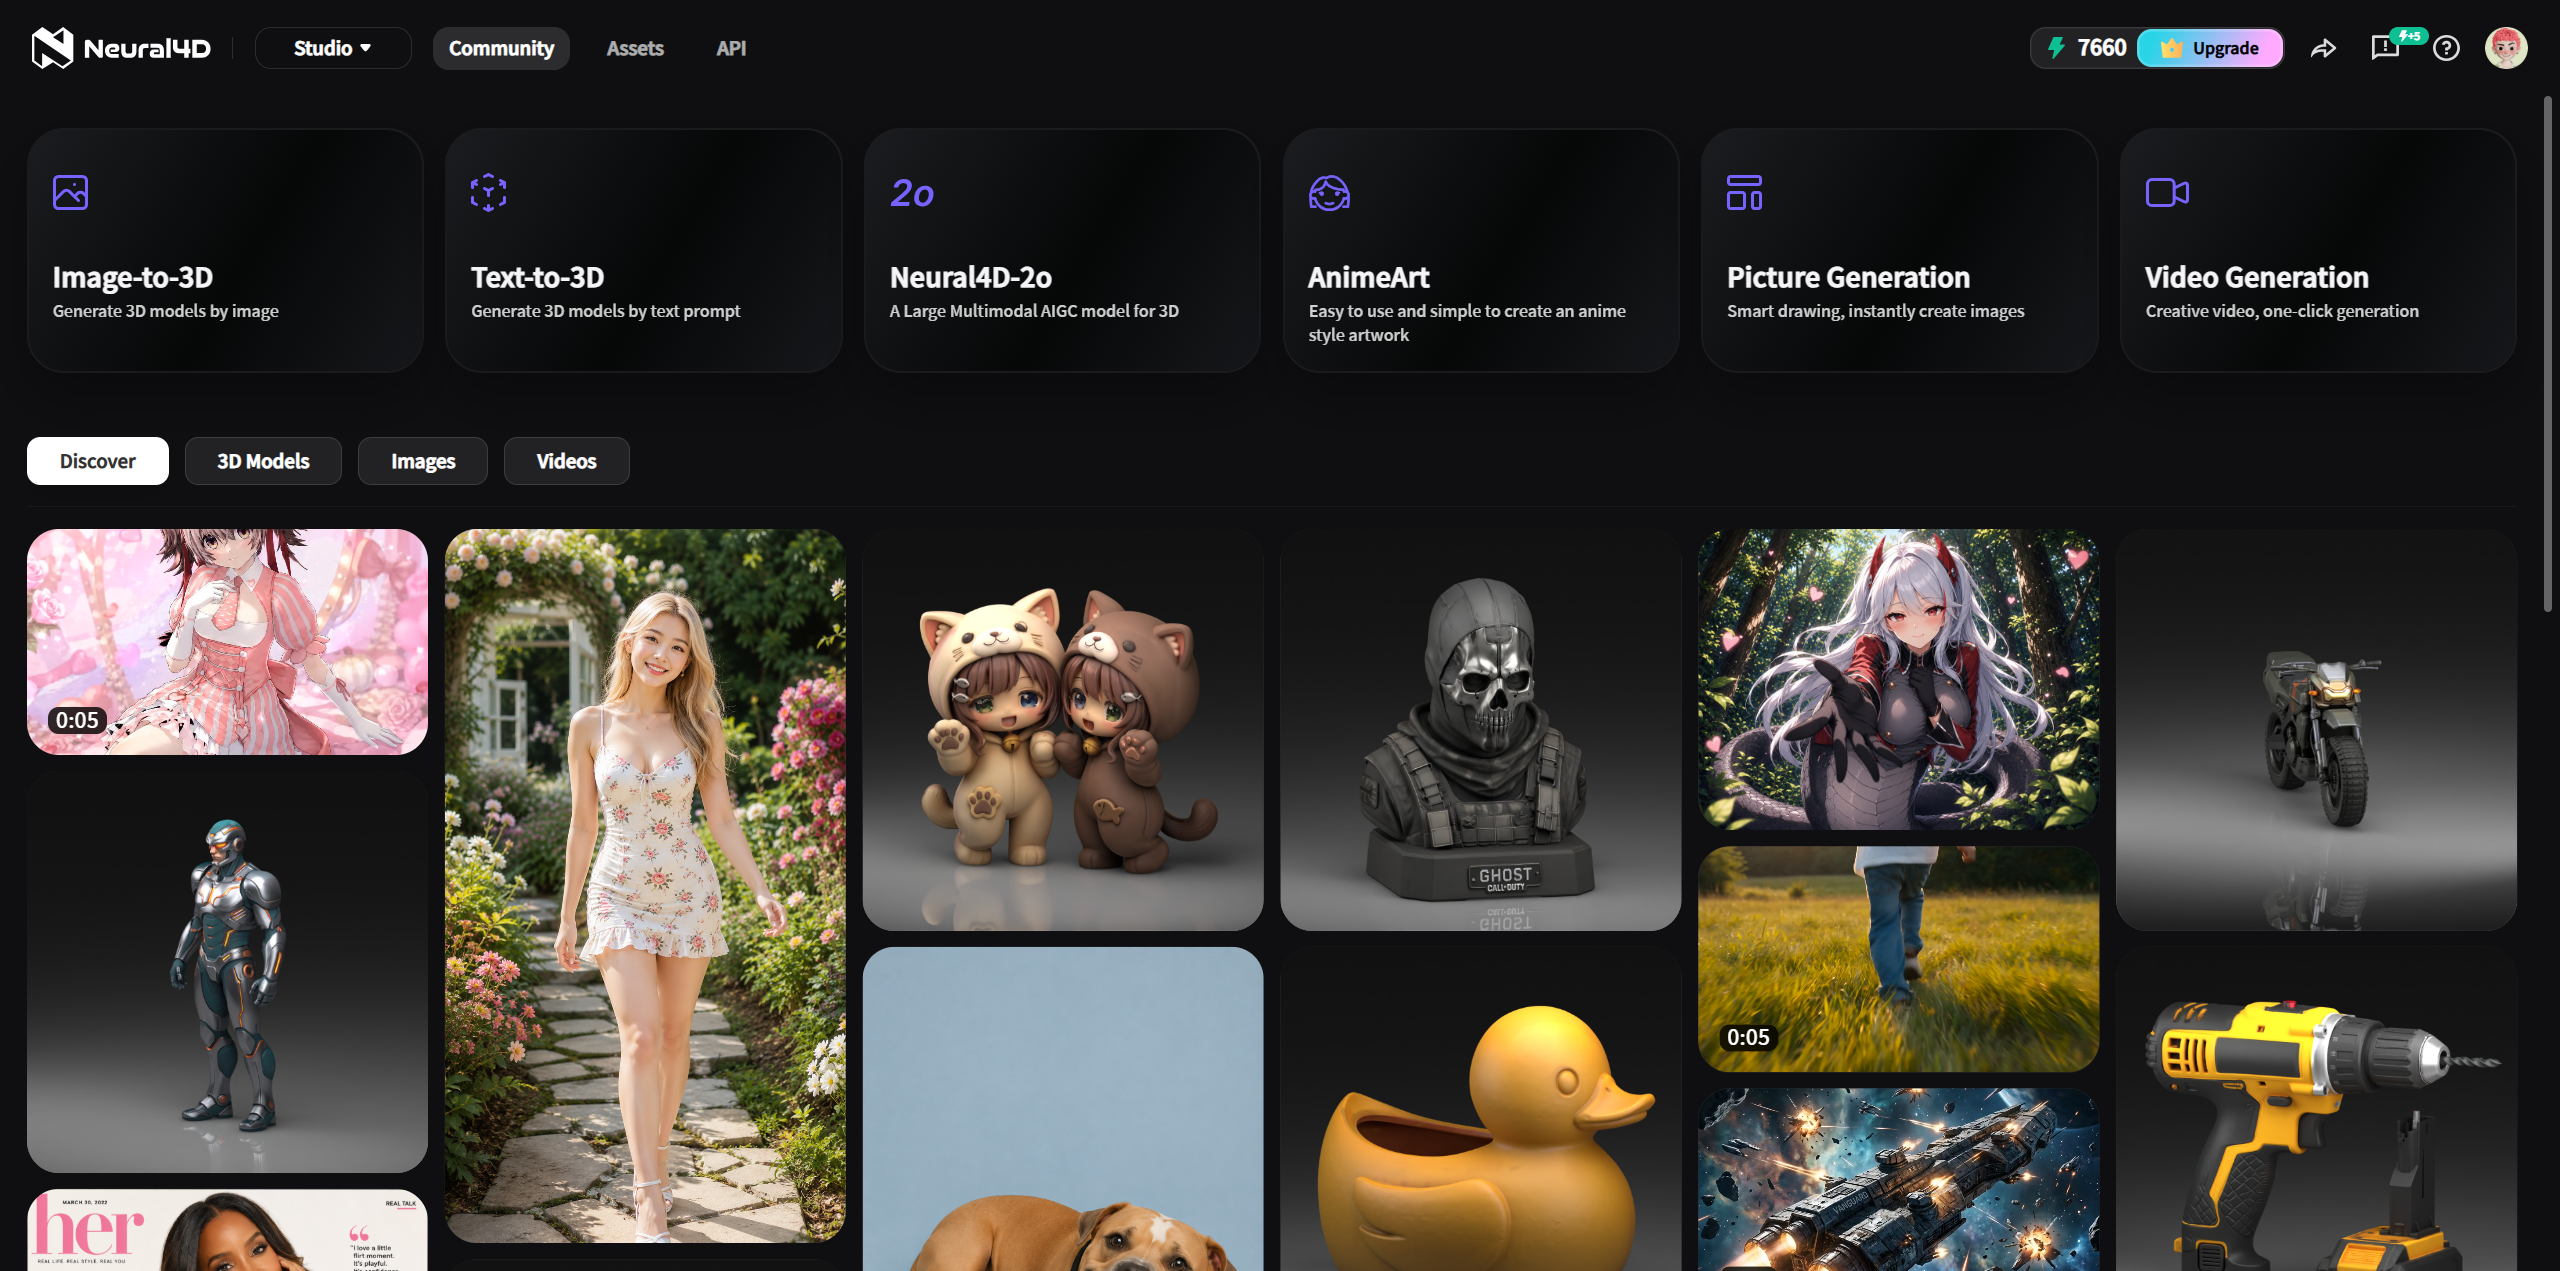
After entering the Neural4D Studio, all generation tools are displayed as clickable cards at the top of the page. Simply click on the card for the tool you want to use. You can also click the Studio tab in the top navigation bar and select a tool from the dropdown menu:
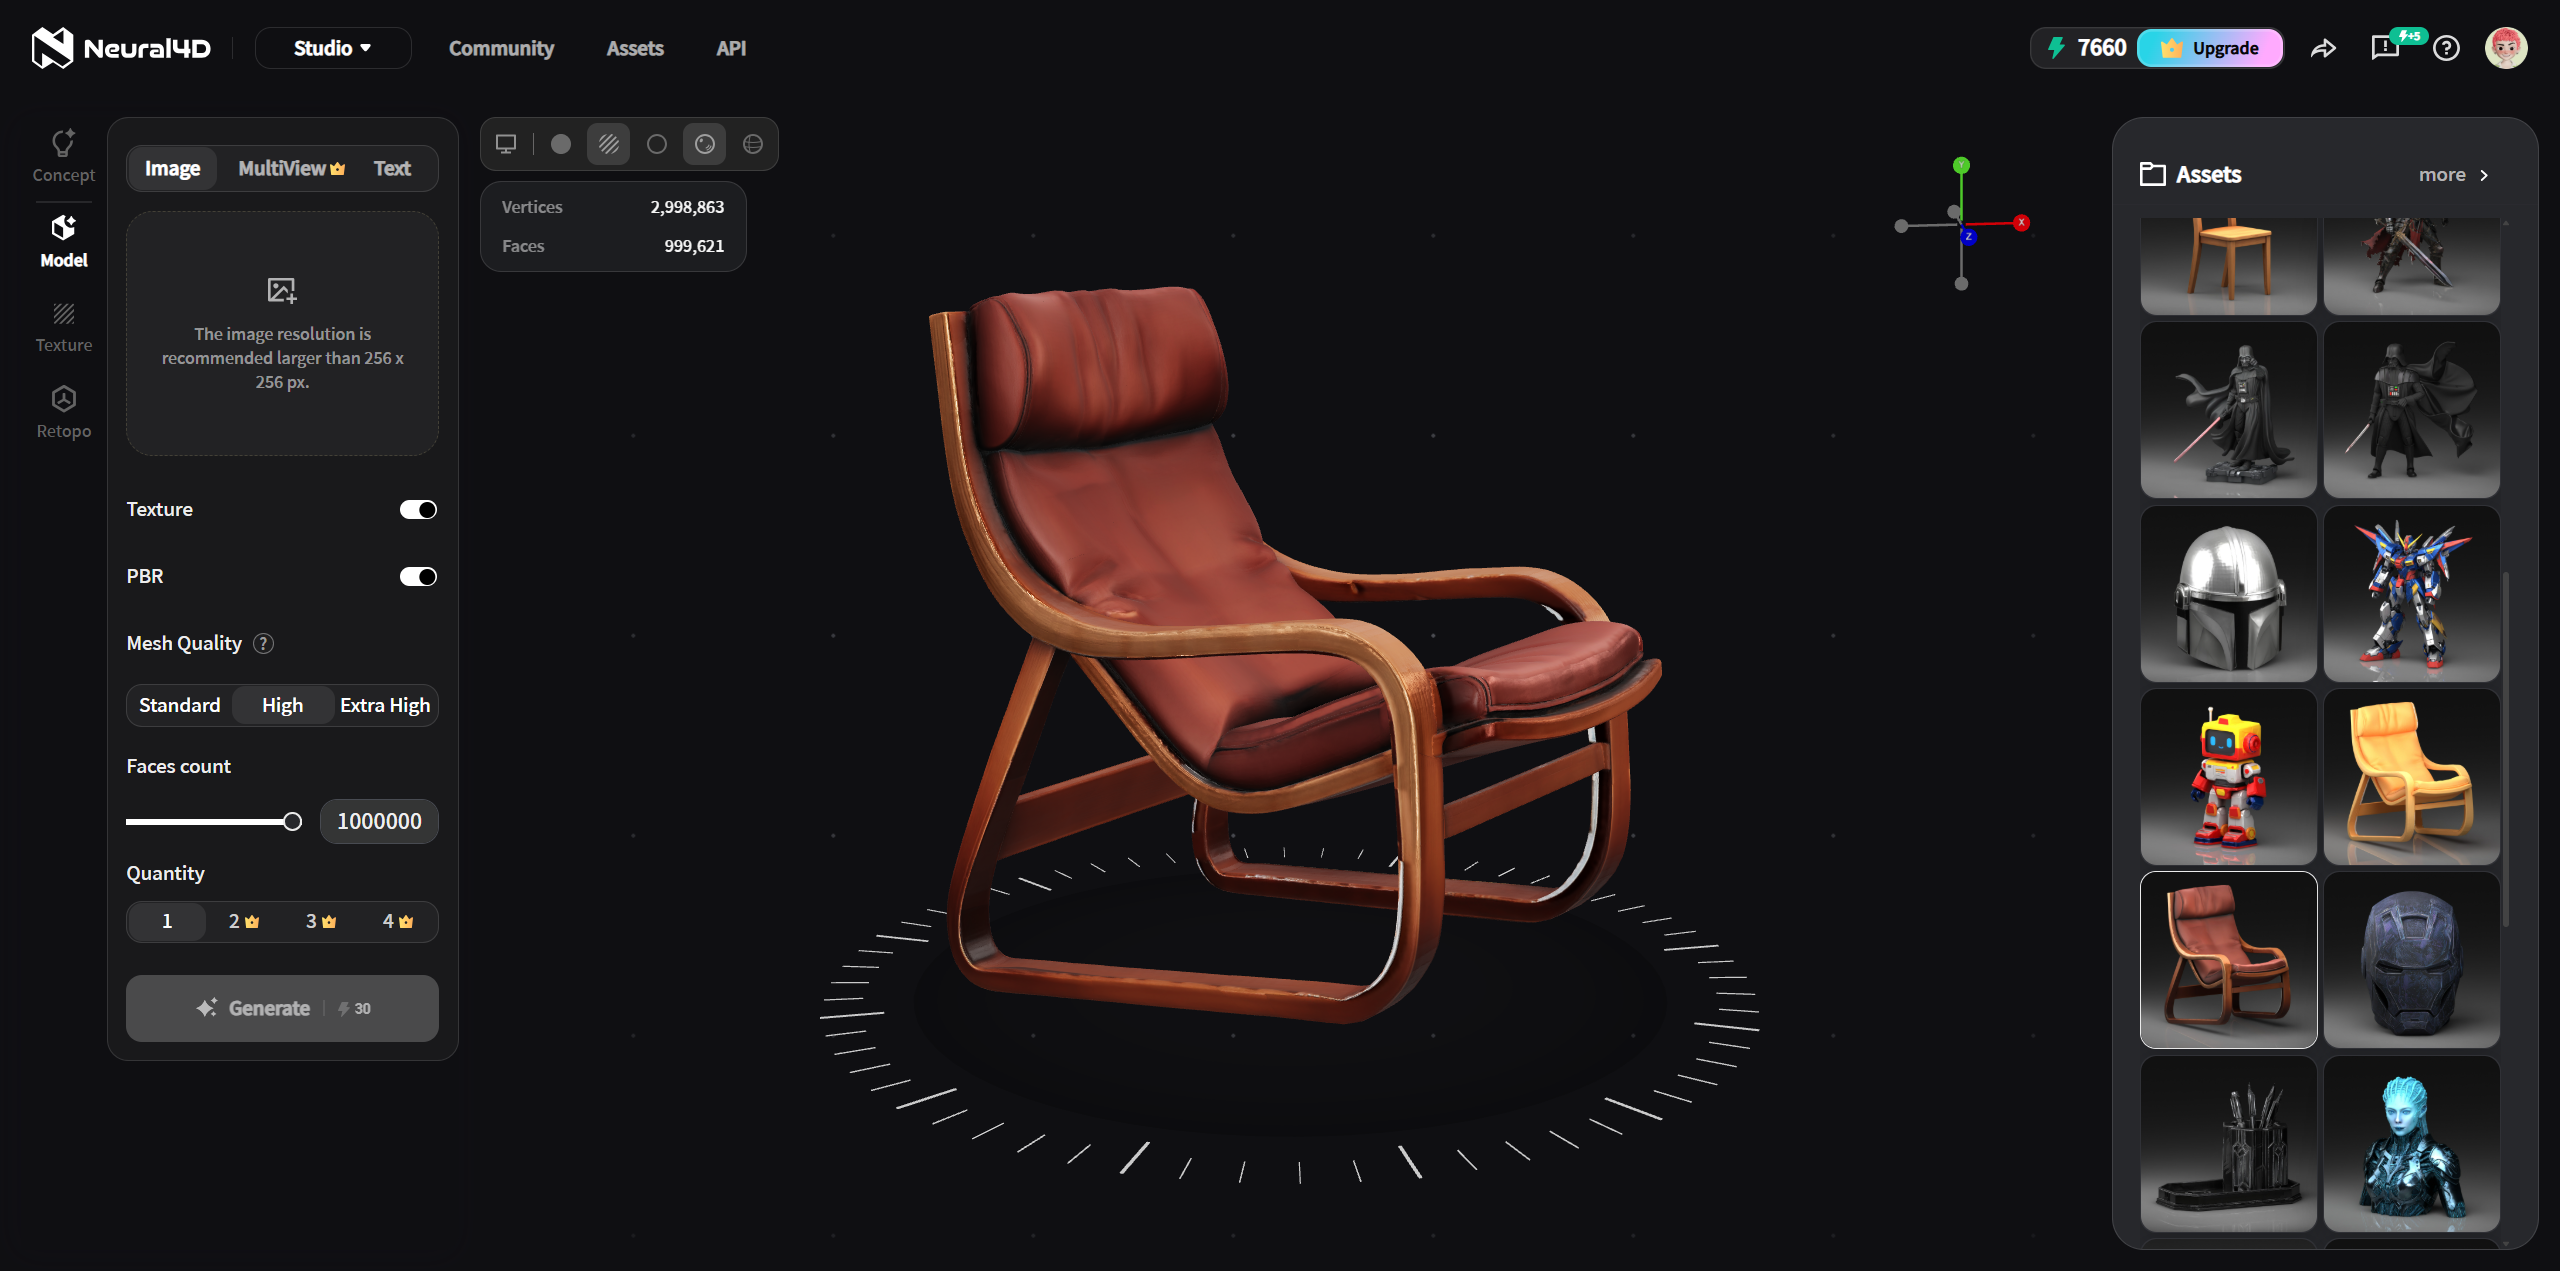
After selecting a tool from the top navigation bar or the tool cards on the Studio homepage, configure your prompt or upload your file in the main workspace. Click Generate, and the system will process your request.
The completed result will appear directly in the main workspace. For 3D models, use your mouse to rotate, pan, and zoom to inspect the mesh topology and textures in real time. For images and videos, preview and download them directly from the result panel.
Neural4D automatically saves your complete generation history. You do not need to download your creations immediately.
To access your library, click the Assets tab in the top navigation bar. This panel displays all your generated 3D models, images, and videos. Click on any item to view its details or export it into your required format:
| Type | Export Format | Primary Industry Use |
|---|---|---|
| 3D Model | .obj / .fbx | General 3D modeling and animation software (Blender, Maya, Cinema 4D). |
| .glb / .usdz | Web, game engine, and AR (Augmented Reality) deployments. | |
| .stl | Industrial and personal 3D printing. | |
| .blend | Native Blender editing for photorealistic rendering. | |
| Image | .png / .jpg | Social media, product listings, concept art references, and print materials. |
| Video | .mp4 | Social media ads, product demos, content creation, and promotional materials. |
To increase your generation allowance, navigate to the Invite friends option in the left sidebar. Copy your unique referral link to share with colleagues or other creators. When a new user registers through your link, additional free power credits will be automatically applied to your account.
For enterprise teams and developers looking to automate 3D asset pipelines, click on the API tab in the sidebar. This dashboard allows you to manage secure API keys and access technical documentation for integrating generation endpoints into your proprietary software.
We continuously refine our generation engine. If you encounter any structural issues or have specific feature requests for your design or development workflow, click the Feedback button at the bottom of the sidebar to submit detailed reports directly to our engineering team.
'%3e%3cg%3e%3cpath%20d='M14.22126,2L16.980341,2L10.922359,8.365314L18,17.000000999999997L12.44585,17.000000999999997L8.0973005,11.7527676L3.1189604,17.000000999999997L0.35988006,17.000000999999997L6.7777414,10.1918821L0,2L5.6921029,2L9.6207924,6.7933583L14.22126,2ZM13.255582,15.505536L14.785071,15.505536L4.88837,3.4391145L3.2449181,3.4391145L13.255582,15.505536Z'%20fill='%23ffffff'%20fill-opacity='1'%20style='mix-blend-mode:passthrough'/%3e%3c/g%3e%3c/g%3e%3c/svg%3e)
'%3e%3cg%3e%3cg%3e%3cpath%20d='M17.776579953674315,4.238972914697266C18.530987953674316,2.8357112146972656,17.668764953674316,1.0000038146972656,17.668764953674316,1.0000038146972656C15.728984953674317,1.0000038146972656,14.327326953674316,2.2953194146972655,14.327326953674316,2.2953194146972655C13.572919953674317,1.8635447646972656,11.093512553674316,1.8635447646972656,11.093512553674316,1.8635447646972656C11.093512553674316,1.8635447646972656,8.614197253674316,1.8635447646972656,7.859790753674316,2.2953194146972655C7.859790753674316,2.2953194146972655,6.4587898536743165,1.0000038146972656,4.518257353674317,1.0000038146972656C4.518257353674317,1.0000038146972656,3.6561312536743165,2.8350313146972654,4.410538953674316,4.238972914697266C4.410538953674316,4.238972914697266,2.6862124236743163,5.858135714697266,3.332825653674316,9.312969214697265C3.9408041536743164,12.559363814697265,6.782133553674316,13.415479814697266,8.614197253674316,13.415479814697266C8.614197253674316,13.415479814697266,7.859790753674316,14.063154814697265,7.967603653674316,15.142524814697266C7.967603653674316,15.142524814697266,6.889853453674316,15.790198814697266,5.812196053674317,15.358415814697265C4.734538553674316,14.926723814697265,4.1956536536743165,13.847263814697266,4.1956536536743165,13.847263814697266C4.1956536536743165,13.847263814697266,3.1179590536743165,12.443964814697265,2.0402743556743164,12.983694814697266C2.0402743556743164,12.983694814697266,1.7169677936743164,13.307532814697266,2.9024282136743165,13.847263814697266C2.9024282136743165,13.847263814697266,3.7645722536743165,15.142524814697266,4.087878753674316,15.898144814697266C4.411195253674316,16.653767814697268,6.135446553674316,17.301444814697266,7.860446953674316,16.869661814697267L7.860446953674316,19.352327814697265C7.860446953674316,19.352327814697265,7.860446953674316,19.568219814697265,7.4293847536743165,19.676166814697265C6.998322453674317,19.784110814697264,6.998322453674317,20.000003814697266,7.213853853674316,20.000003814697266L14.974576953674317,20.000003814697266C15.190109953674316,20.000003814697266,15.190109953674316,19.784110814697264,14.759046953674316,19.676166814697265C14.327983953674316,19.568219814697265,14.327983953674316,19.352327814697265,14.327983953674316,19.352327814697265L14.327983953674316,16.869661814697267C14.327983953674316,16.869661814697267,14.337451953674316,15.575053814697265,14.327983953674316,15.142524814697266C14.304263953674317,14.057753814697266,13.573576953674316,13.415479814697266,13.573576953674316,13.415479814697266C15.405640953674316,13.415479814697266,18.246925953674317,12.559363814697265,18.854893953674317,9.312969214697265C19.501579953674316,5.858135714697266,17.777234953674316,4.238972914697266,17.776579953674315,4.238972914697266L17.776579953674315,4.238972914697266Z'%20fill='%23ffffff'%20fill-opacity='1'%20style='mix-blend-mode:passthrough'/%3e%3c/g%3e%3c/g%3e%3c/g%3e%3c/svg%3e)


